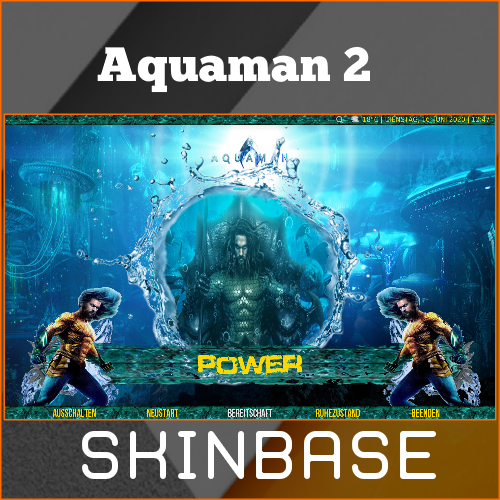
Created by BigNoid, Modded by SiLVO, and Widgets by Mr. V
Description
Completely redesigned to create a modern look, while retaining the classic Aeon feel.
News
v7.0.7 - Fix Live TV OSD button focus when unable to pause - Fixes to DialogSelect - Fix no items in Ask Default Background selection on new installs - Drop Skin Helper Widgets for favorites and use favourites:// path instead - Update and add some missing icons - Fix Netherlands rating classification images - Update and re-design PVR Group Manager v7.0.6 - Fix Menu resetting to defaults v7.0.5 - Add TMDb search from DialogVideoInfo Extras on Home screen - Fix missing icon/poster in SlimList - PVR updates and additions - Updated language files from Transifex v7.0.4 - Revert removal of bottom OSD button position - Fix default letter jump appearing on side menu settings button focus - Add "fixed" option for video RightList - Tweak Vertical Menu fixed behaviour to match Horizontal - Rework Live TV guide with icons from Estuary and re-add channel logos - Add disable to submenu items in Main Menu Customizer - Add information setting to SlimList - Remove script.extendedinfo and add script.embuary.info supports All updates may contain various changes and/or improvements For a more complete list visit: https://github.com/mikesilvo164/Aeon-Nox-SiLVO/commits/master
How To Install
Direct installation
Via Repository
Via Directory
- First make sure you have the repository installed
- Open up Kodi and navigate into Add-ons.

- Click the open box icon (above the side-menu).

- Select Install from repository.
- If you have at least one repository (besides the default) installed:
Select the repository you wish to install from.
- If you have at least one repository (besides the default) installed:
- Select the category the addon belongs to, in this case it should be skin.
- Select Fortnite.
- Click Install.


For a full installation guide please click here.
Additional Information
| Updated: | January 13, 2021 |
In Repositories: |
|
| Platform: | all |
| License: | CC BY-NC-SA 4.0 |
Depends On: |